How to Uninstall Geforce Experience by NVIDIA
Try to uninstall GeForce Experience but nothing happens on the computer? When there is a need to remove the program from Windows, it seems like very easy for the people to get some troubles and errors. So maybe we should know more about this application on the PC and what's the proper way to uninstall it well.
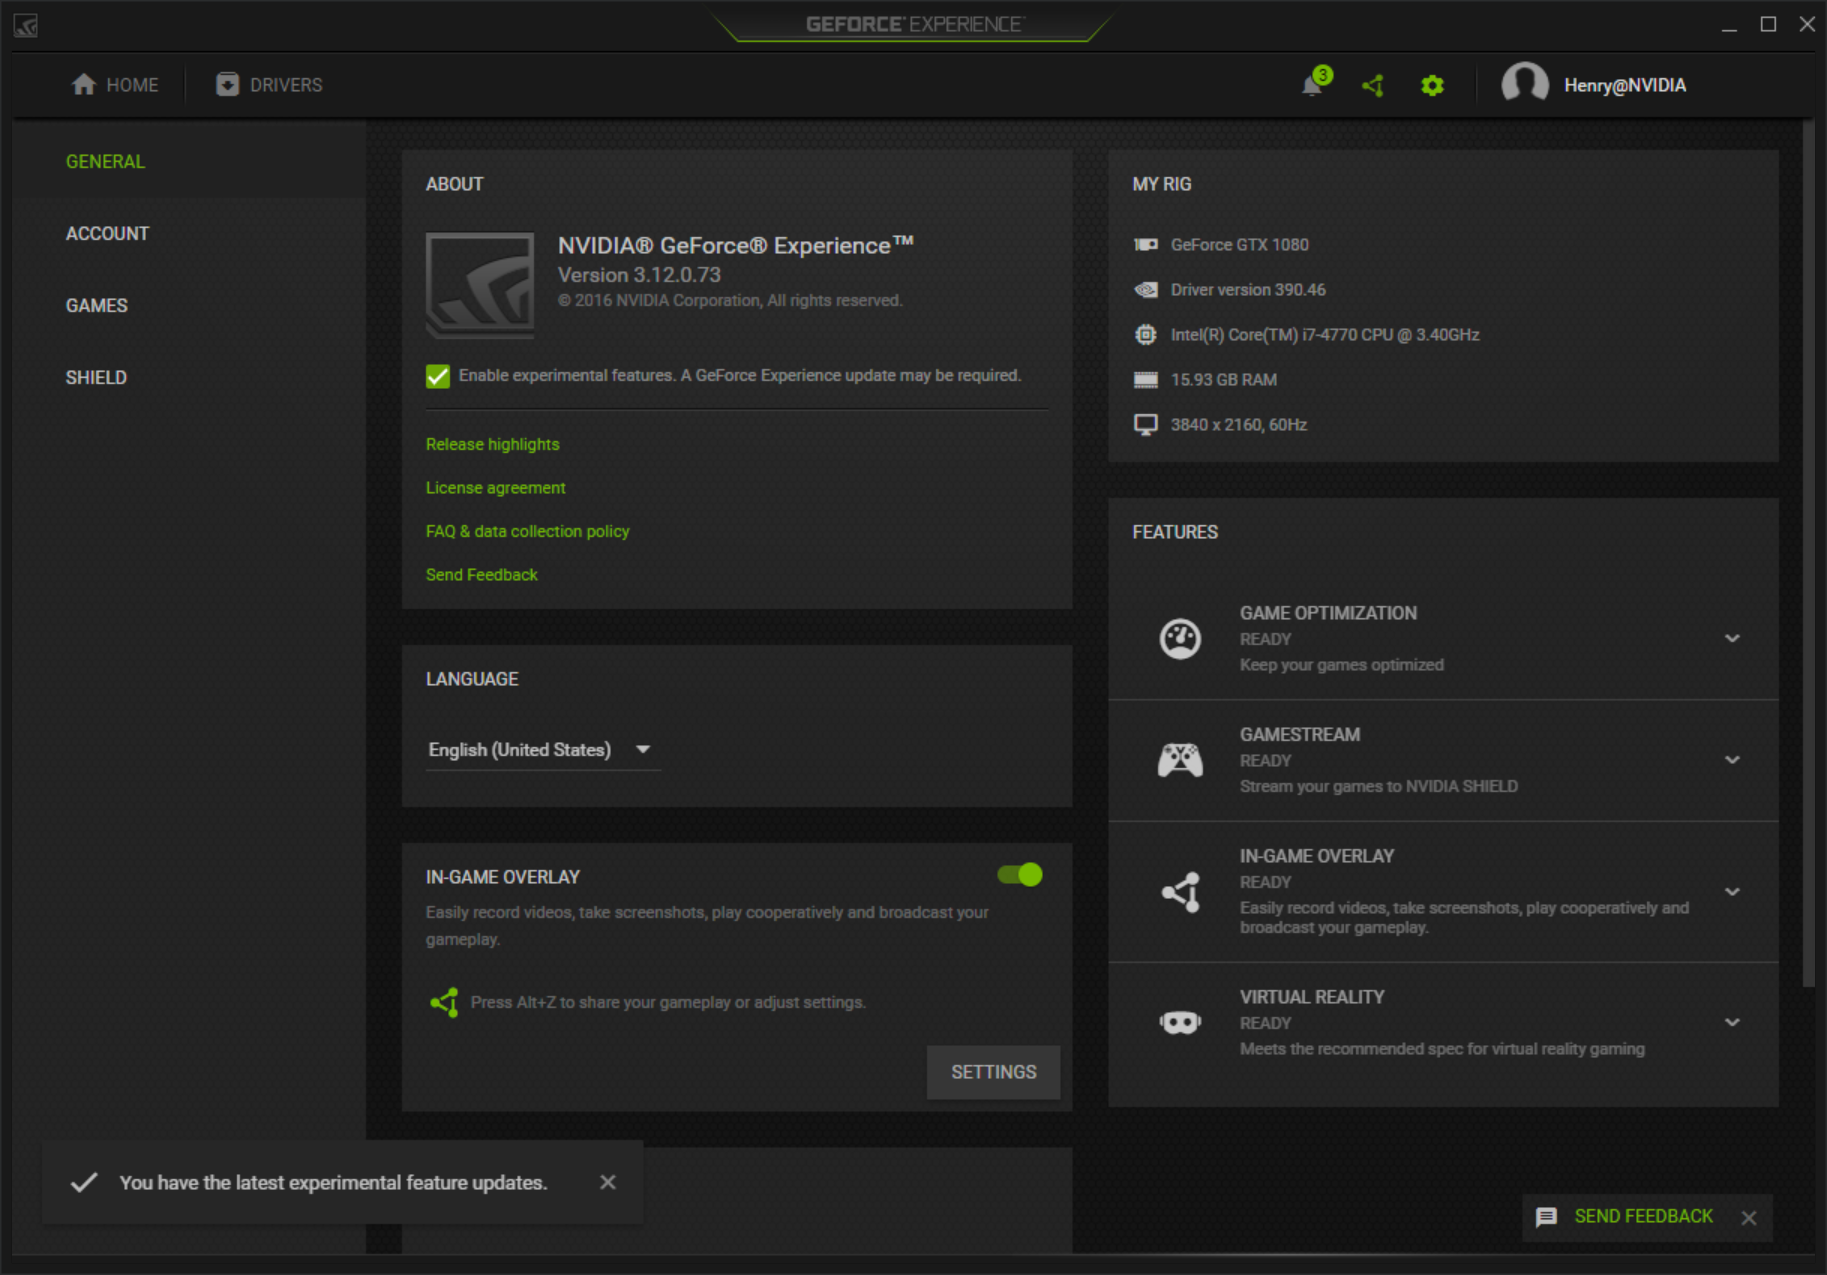
What is GeForce Experience

GeForce Experience is a program of NVIDIA that able to capture, share videos, screenshots, and livestreams with friends; it is also can keep your drivers up to date and optimize graphics performance for the games on the PC. This application usually bundles with graphics drivers for all NVIDIA GeForce GTX graphics cards, you also get other NVIDIA programs or drivers at the same time.
General reasons for people to remove it
- GeForce Experience takes up too many bandwith and CPU usage
- Don't need the program anymore on the PC
- Want to uninstall GeForce Experience first and reinstall it to fix some issues
- Abandon NVIDIA programs and devices on the computer
What are the most common problems to uninstall the program
- Try to uninstall Geforce Experience but nothing happens
- Cannot find Geforce Experience program on the list in Programs and Features
- An error message always displays when try to remove Geforce Experience , like "NVIDIA Uninstaller cannot continue. A system restart is required..."
- The program removal is not complete and leaves some leftovers on the computer
How to Uninstall Geforce Experience correctly and completely
1. Remove with Windows' Programs and Features
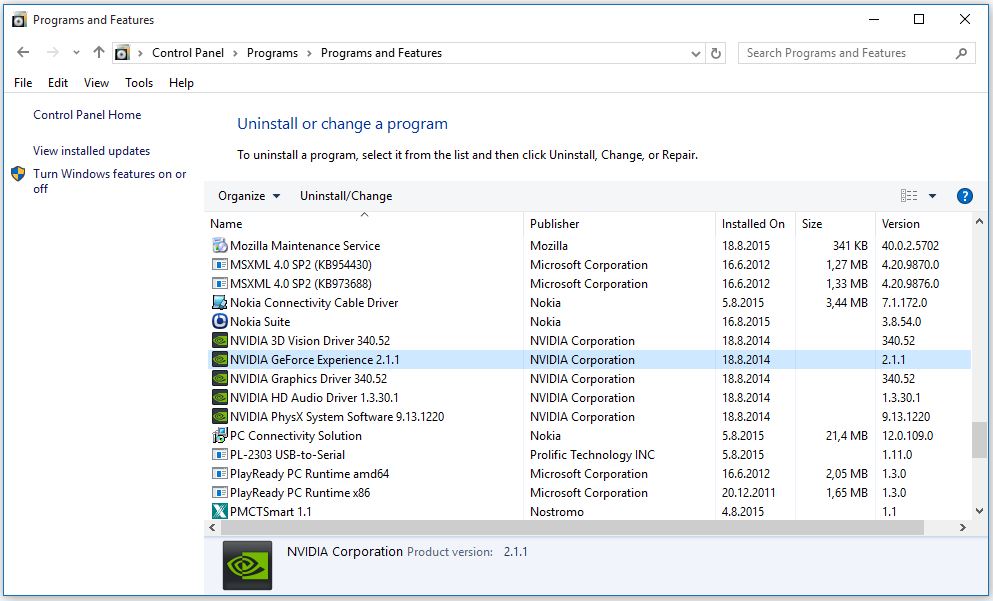
- Right-click on the Windows button in the bottom left corner of the screen, and select Programs and Features

- Locate Geforce Experience on the list of programs, and click on Uninstall/Change
- Click Uninstall again, and the removal process will start to delete the program and its files

- After complete the removing steps, exit all opening windows and applications, and then reboot the computer
If the program cannot be removed completely, continue the following steps:
- Click on the search box in task bar, and type "regedit"
- Hit Enter to open the Registry Editor of the system, and you will see many groups of registry entries inside
- Expand those registry groups and check them one by one, delete Geforce Experience's registry groups and keys insdie
- Try to access to the previous installation folder of GeForce Experience(its default install folder is "C:\Program Files (x86)\NVIDIA Corporation\GeForce Experience"), delete it if you can it at there
Tips: This Windows built-in app uninstall feature usually cannot get a 100% removal for many programs, so people need to manually clear those vestiges thoroughly from the computer. And the leftovers always stay in the installation folder and System Registry. People can try to find the associated files if they find some apps cannot be totally removed.
2. Uninstall Geforce Experience with Total Uninstaller
If you want to skip the annoying manual removing steps, you can take Total Uninstaller to replace you perform the program removal automatically. With the sophisticated removal tool, people can get a complete uninstallation with simple steps on the utility's removing interface, and don't need to take much of time to conduct the removal by themselves.
- Launch the Total Uninstaller on the computer
- Select Geforce Experience on the menu of installed programs, and click on Run Analysis
- After a while, associated files and components will then be detected and listed on the menu, and please click on the Complete Uninstall button
- Click Yes for confirmation, and click on Uninstaller on the wizard
- Click on Close then the uninstallation complete
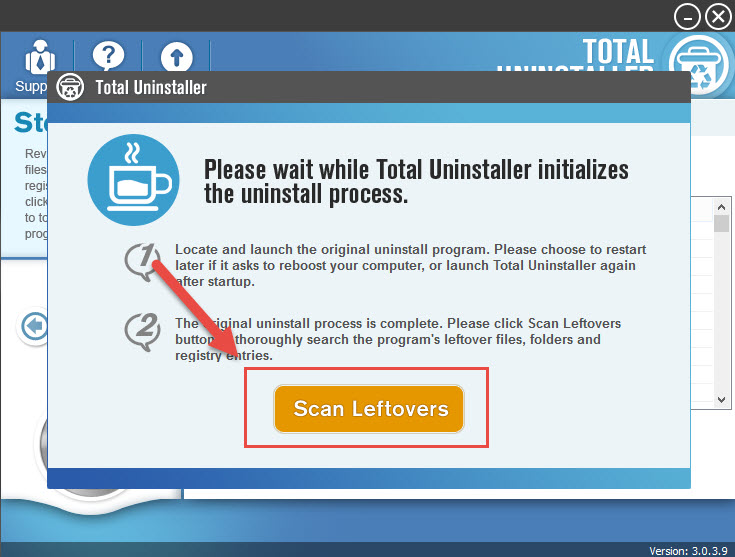
- Click on Scan Leftovers button, and delete all of detected files on the list

- Click on OK to complete the whole removal, and then you can exit the uninstaller and restart the your computer


