Uninstall RealVNC Guides With Traditional Or Faster Way
Take standard manual way or a faster approach to uninstall RealVNC from PC? You can get more details about these two methods from this post, and choose the better one you think to delete it.

RealVNC overview
RealVNC is a program that provides remote access to other devices. It consists of a server VNC Server and a client application VNC Viewer, both of them will be installed and created the shortcut on the PC. So don't worry if you see these two apps after installing RealVNC.
Developer: RealVNC Ltd
Written in: Java
Type: Remote administration software
Official Website: www.realvnc.com
Default installation folder: C:\Program Files\RealVNC\VNC4\
Possible reasons to remove the program
- RealVNC takes up too many system space
- CPU always in a high rate of use when running this program
- Computer got frozen
- Don't need to use RealVNC anymore in the future
- RealVNC should be uninstalled first and install the newer version
If you had tried but failed to remove the program from your PC, you should skip it and take another way to perform the uninstaller.
Correctly uninstall RealVNC with these two available ways
Traditional method to remove it on PC
Since there are two associated programs of RealVNC, you should completely remove them from the Windows. And the Traditional removal way will rely on the Windows removing feature.
- Stop RealVNC's processes running on the computer
- Click on Windows/Start button, and click Control Panel
- Next, you should access to the Windows uninstaller, there are different names in different operating systems:
Windows XP - Add/Remove Programs
Windows 7/Vista/8/8.1 - Uninstall a program under Programs and Features.
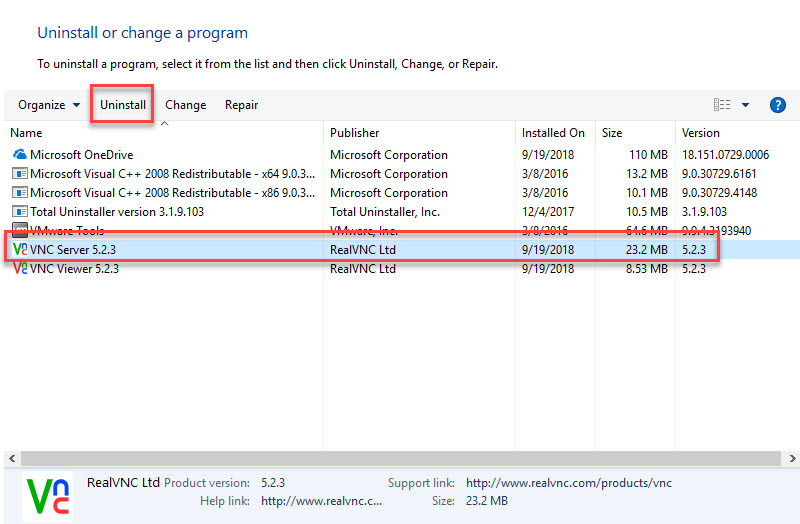
Windows 10 - Apps & Features - Highlight VNC Server on the list of programs, and click Uninstall
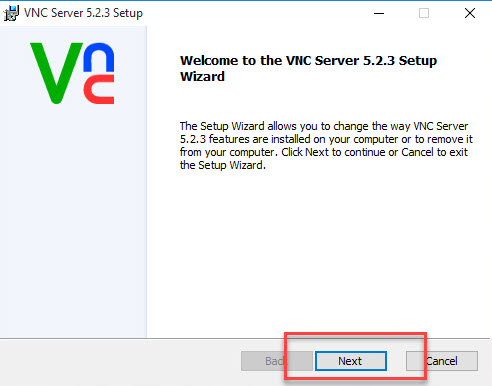
- Click on Next button on the Setup Wizard
- Select to Remove the program from computer and continue the removing process
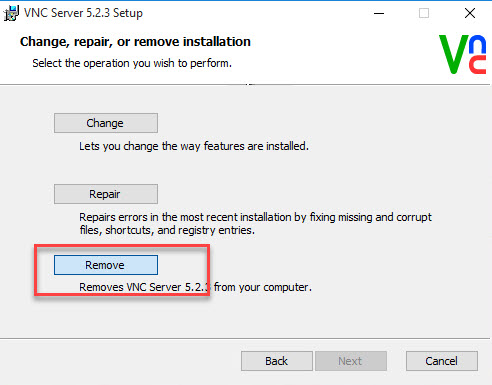
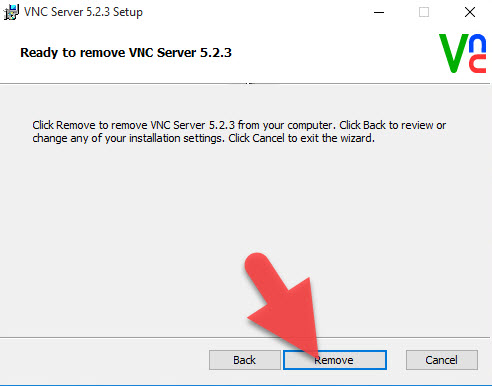
- Click Remove to start to remove VNC Server
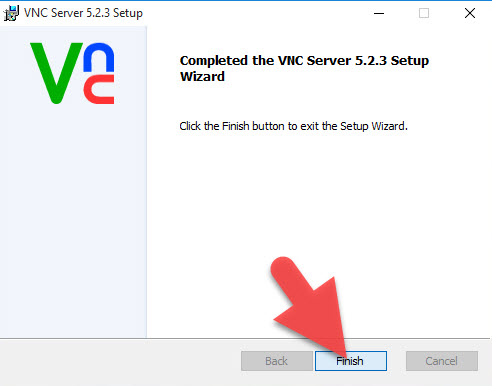
- Wait a few of seconds, and click on Finish when finish the removal
- Back to the Windows uninstall panel, and select VNC Viewer
- Repeat the removing steps to uninstall it
- Reboot the computer and log-in
- Activate the Windows search box, and enter regedit
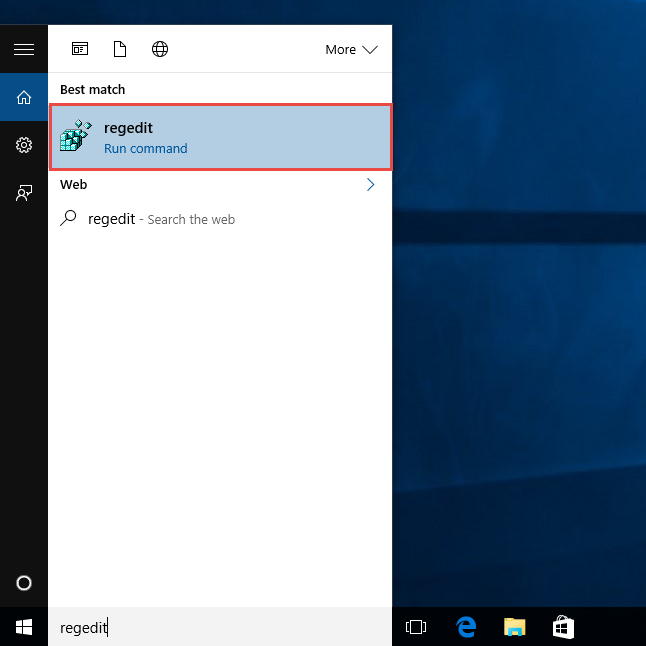
- Click it on the search result to open the Registry Editor on the system
- Unfold all registry groups, and delete those registry keys which are belonging to RealVNC
After completing all of these steps, you will be able to uninstall RealVNC successfully from the PC.
Get advanced app remover to uninstall RealVNC more quickly
For the people who don't want to spend too much time to remove the program, applying a professional uninstaller is a good alternative. Advanced app uninstaller can help users to scan and remove all of files and preferences quickly, and more importantly, it don't need to take too many steps to conduct the whole removal.
Total Uninstaller is the qualified removal tool that can help you to remove RealVNC with simple steps, and you can learn how to remove with the following guides:
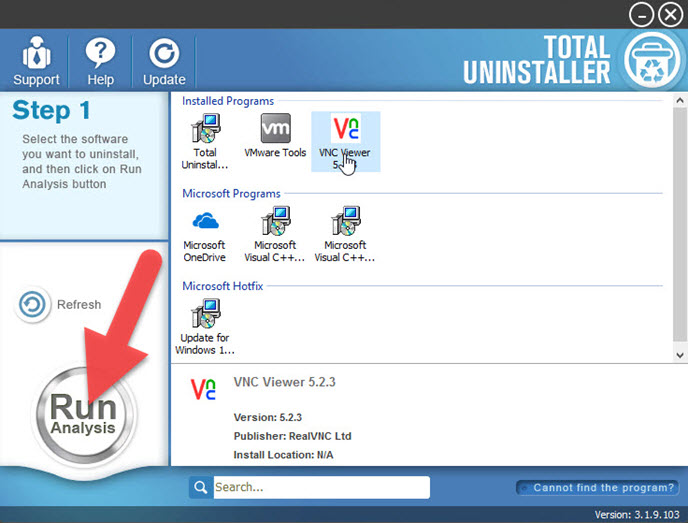
- Launch Total Uninstaller on your computer, and highlight VNC Server's icon on the menu
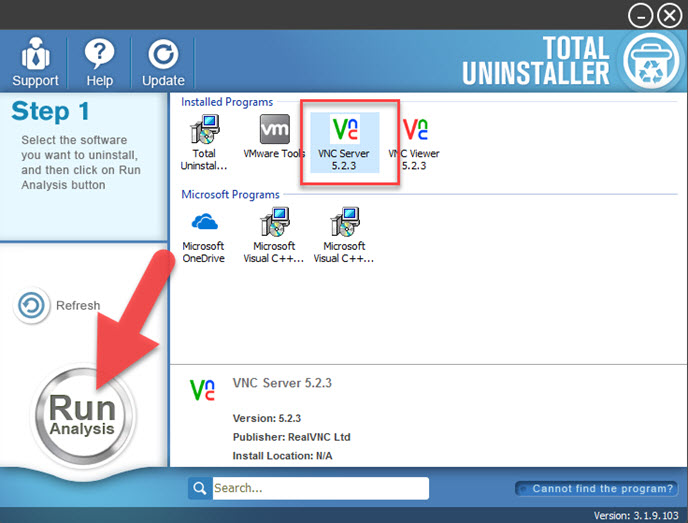
- Click on Run Analysis, and you will find that all of associated files will be listed on the interface
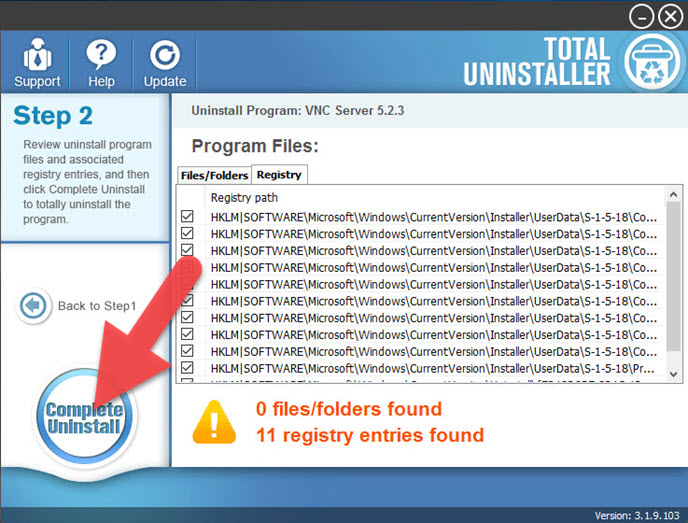
- Click on Complete Uninstall, and click Yes to make sure you want to uninstall VNC Server
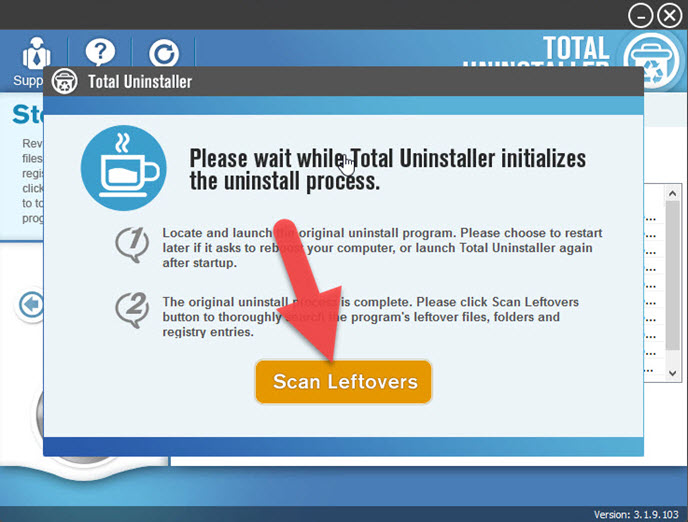
- When Setup Wizard opens, click on Next, and Remove
- Click on Remove again to activate the removing process
- When complete, click Finish to exit the setup
- Click on Scan Leftovers on Total Uninstaller to check for remnant files on the computer
- Click on Delete Leftovers, and Yes to clean all of its remnants
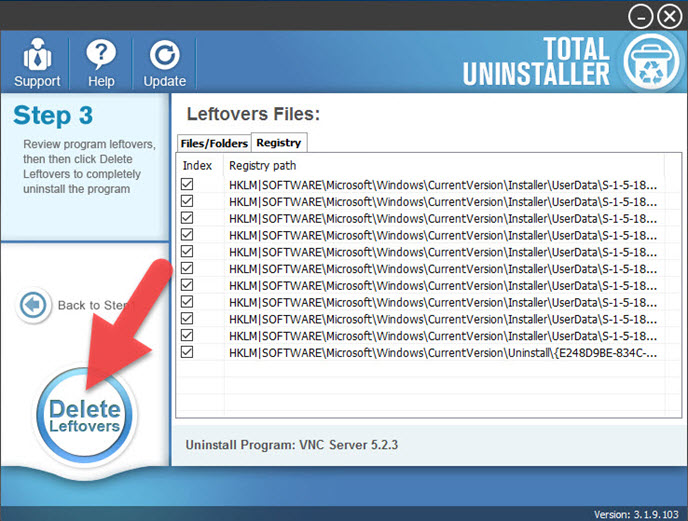
- Click OK to finish the removal
- Back to the main interface of uninstaller, and select VNC Viewer
- Continue to uninstall VNC Viewer with the same removing steps
- When complete, exit Total Uninstaller and go to restart your PC
When reboot the computer, your system will be refreshed and you will finish to uninstall RealVNC thoroughly.
Not clear enough? Please refer to the video for more intuitive instructions: